
01
Existing unit size
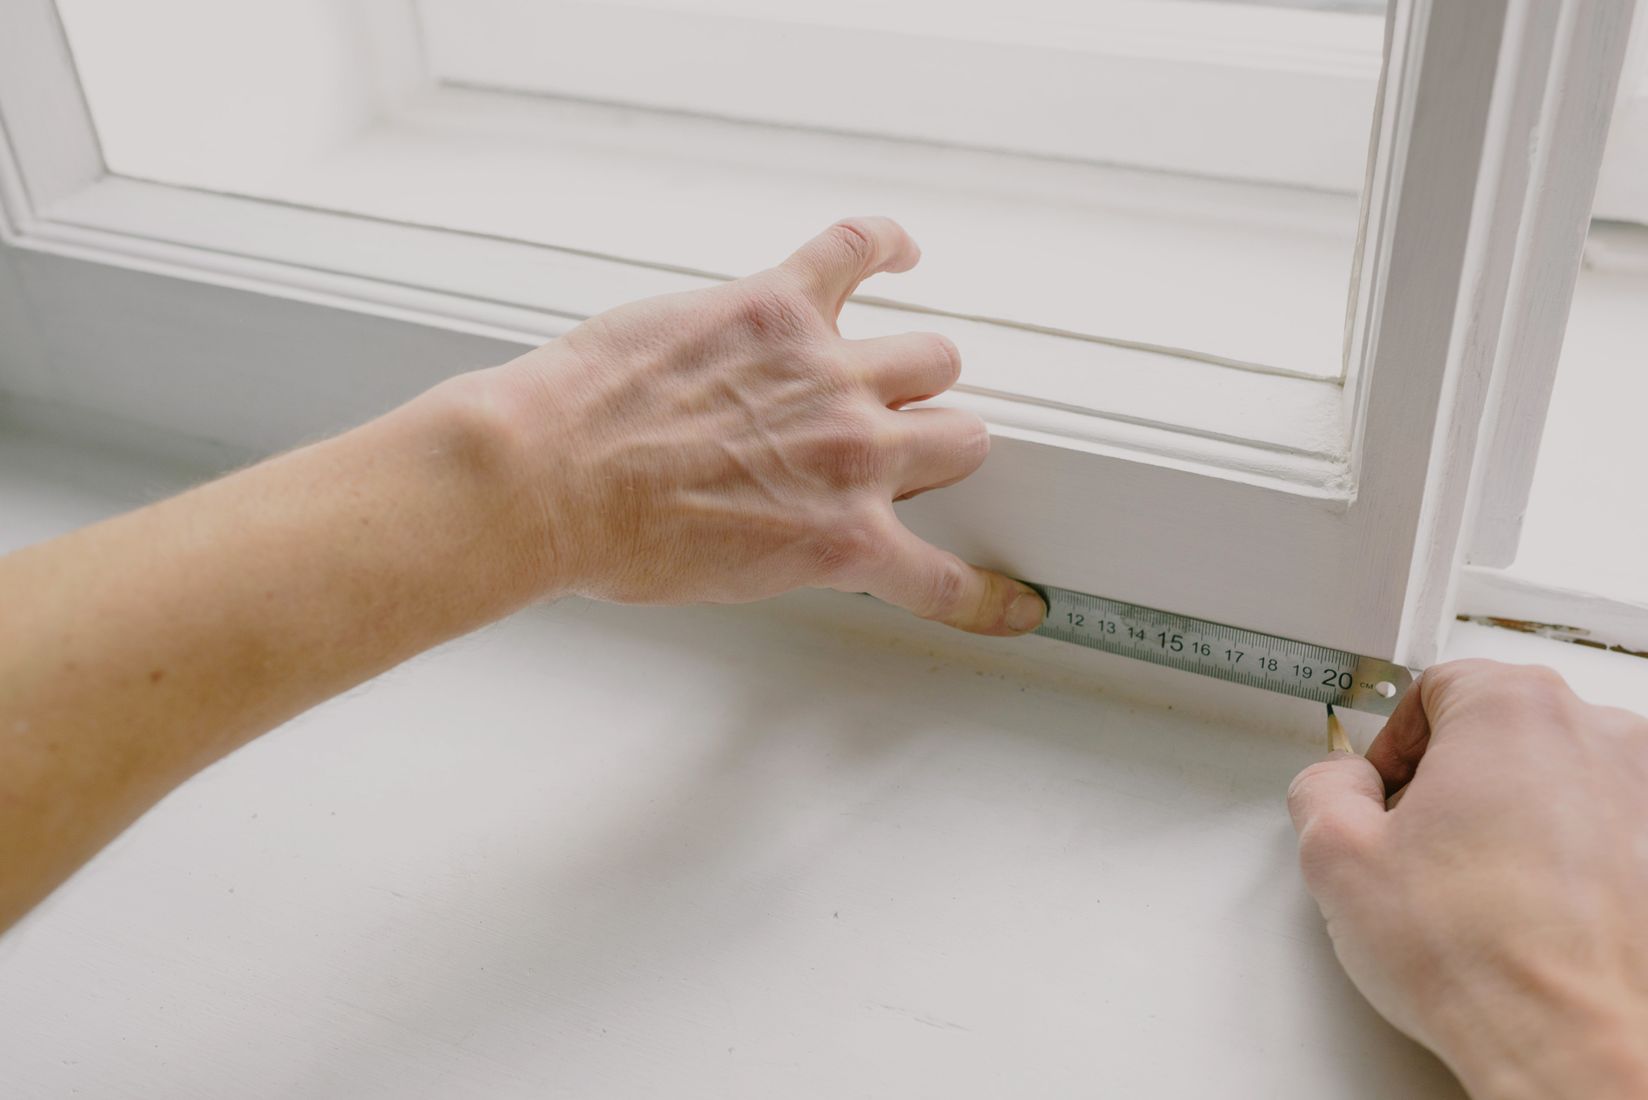
The dimensions of the window currently in place help describe the project, but do not replace a final field measurement.
WINDOWS DIRECT UNIVERSITY
A replacement window has to do more than fit the wall. The right plan accounts for the opening, the way the sash operates, nearby hazards, and any emergency-escape role.
These terms are related, but they are not interchangeable. Knowing which number is being discussed prevents expensive misunderstandings.
The dimensions of the window currently in place help describe the project, but do not replace a final field measurement.
The framed opening receiving the window matters for fit, shimming, fastening, insulation and water management.
The unobstructed opening available during normal operation matters when a window serves emergency escape and rescue.
A professional final measure should confirm width and height at multiple points, opening condition, squareness, wall depth, trim details, operating style, access and installation method.
The company accepting the order should clearly identify who owns the final dimensions and the consequences of a mismatch.
Safety-glazing rules commonly focus on hazardous locations such as certain doors, glass near doors, and glazing near walking or bathing areas. Exact triggers depend on locally adopted code and the opening’s position.
Identical windows can have different requirements because one is beside a door, tub, stair, landing or walking surface.
Required safety glazing should carry appropriate permanent identification. Ask how the specified glass will be documented.
An online checklist is not a permit decision. Confirm current rules with the contractor and local authority.
Model codes address where escape openings are needed, how they operate and how clear opening is evaluated. Local amendments and replacement provisions can change the answer for an existing home.
Confirm room, location, style, color, glass, grids and special conditions.
Flag doors, tubs, stairs, low glass and sleeping rooms before approval.
Match the written count and choices to the final-measure conversation.
Save schedules, changes, product documents and permit information.
Your measurements help with early planning. Final ordering dimensions should be verified by the company supplying and installing the windows.
Requirements depend on adopted codes, project conditions and provisions for existing openings. Request a project-specific local review.
No single visual clue decides every case. The installer and local authority should verify the actual opening.
Codes vary by jurisdiction and edition. The authority having jurisdiction determines requirements for a specific project.
A clear measurement and safety review protects the room, schedule and investment.