
Identify the wall and cladding
Stucco, brick veneer, lap siding, panel siding, wood trim, and other exteriors manage water differently. The removal plan should respect the surrounding assembly.
WINDOWS DIRECT UNIVERSITY
Installation connects the new window to the wall, weather barrier, drainage path, insulation, interior finish, and exterior cladding. The product matters. The transitions determine whether it performs as a system.
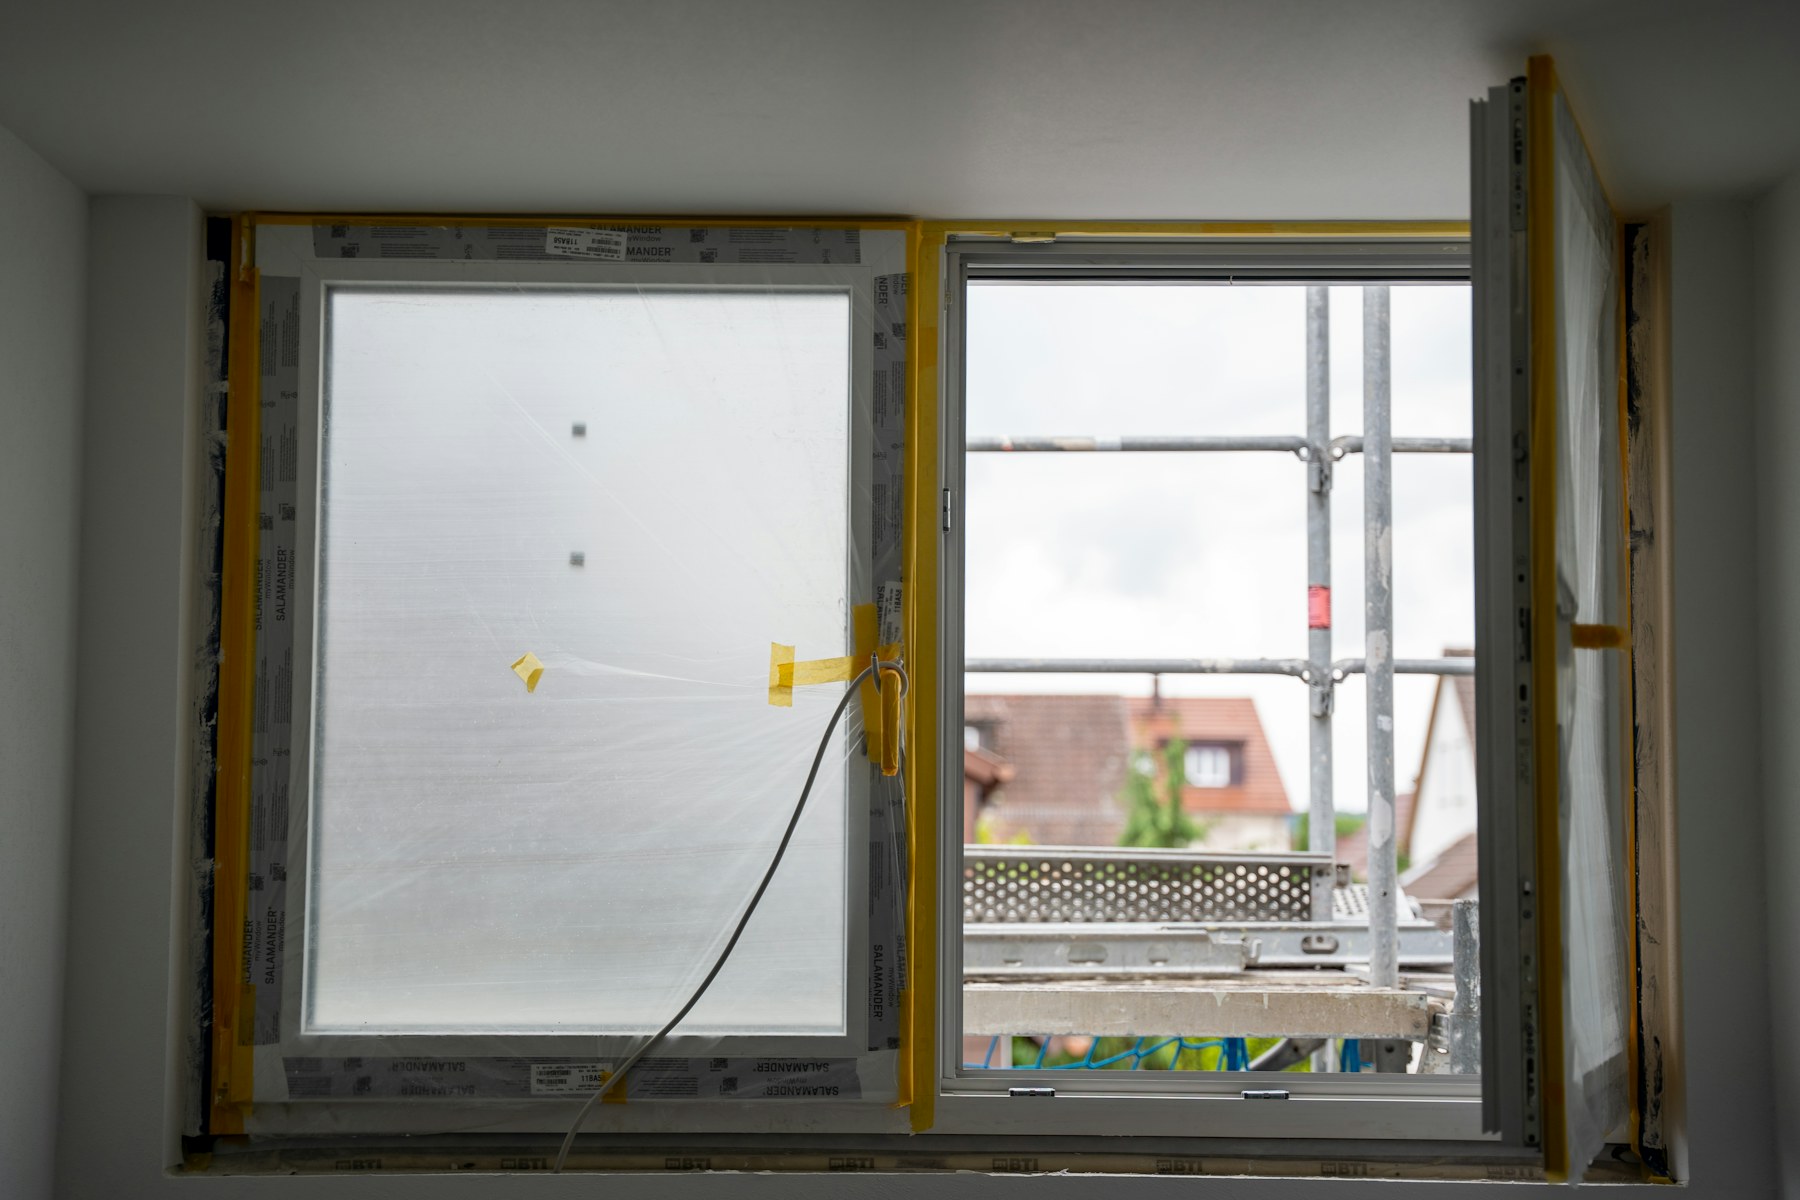
Four layers must work together. A photo of the finished trim cannot prove what happened behind it.
THE SHORT ANSWER
A reliable installation starts with the existing conditions. The installer must understand the wall type, removal method, opening size, structural support, water-management details, attachment method, insulation strategy, and finish work before covering the assembly.
Methods vary with the existing frame, wall, damage, and product. Full-frame replacement removes the existing window frame; an insert keeps a suitable existing frame in place. Either approach needs a clear plan for support, water control, air sealing, drainage, and operation.
BEFORE ANYTHING COMES OUT
Stucco, brick veneer, lap siding, panel siding, wood trim, and other exteriors manage water differently. The removal plan should respect the surrounding assembly.
An insert may preserve a sound existing frame but reduce glass area. Full-frame work exposes more of the opening and can address conditions an insert leaves in place.
Check multiple locations, diagonals, sill level, frame depth, clearances, interior returns, exterior limits, and whether the opening is reasonably square.
Interior surfaces, landscaping, furniture, pets, alarms, window coverings, weather exposure, and safe lifting all affect the job plan.
Protect finishes, control broken glass and debris, and expose enough of the assembly to evaluate the opening. Damage caused during removal should be repaired—not buried.
Look for decay, movement, previous leakage, failed sealants, damaged sheathing, poor slopes, and obstructions. The opening should provide sound support and the required clearances.
Sill preparation, flashing, membranes, pans, drainage, and integration with the surrounding weather barrier must direct incidental water outward. Details should shed water in layers rather than depend on face sealant alone.
Place the unit at the intended depth, support it at appropriate points, verify level and square, check reveals and operation, and fasten according to the window and wall system.
The perimeter gap needs an appropriate air-sealing and insulation strategy. Overfilling, rigid packing in the wrong location, or uncontrolled foam expansion can interfere with operation.
Restore interior and exterior finishes, preserve weep and drainage paths, clean the unit, operate every sash and lock, inspect sealant continuity, and explain care and warranty steps.
QUALITY IS EASIER TO SEE IN DETAILS
What part of the existing window remains, and what conditions will become visible after removal?
How will the sill and surrounding wall direct incidental water back outside?
Which manufacturer instructions and local requirements govern fastening and clearances?
How will the perimeter be insulated and air-sealed without blocking drainage or distorting the frame?
Who is responsible if concealed damage appears after the old window is removed?
What photos or records will document conditions before they are covered?
COMMON MISUNDERSTANDINGS
Straight trim and clean caulk matter, but they are the visible edge of the work. Water management, support, fastening, insulation, air control, and compatibility may sit behind the finish.
Sealant needs compatible surfaces, correct joint geometry, preparation, and a role within a drainage strategy. More material does not correct the wrong pathway.
Operation is important but not the only check. Reveals, locking, frame dimensions, support, and manufacturer tolerances also matter.
Existing frames, wall types, exposure, cladding, damage, and product systems change the appropriate scope.
EVIDENCE BEFORE THE TRIM
A finished window photo shows appearance. A useful project record also explains the condition of the opening, the agreed method, and any changes made during the work.
Ask for the window schedule, installation method, product instructions, finish scope, and permit responsibility in writing. Confirm which existing frame and trim will remain and what the crew can inspect without additional removal.
Agree on photos of accessible opening conditions, water-management work, support, and perimeter sealing. Identify each opening in the records. Photos help explain the work; they do not prove concealed conditions or replace a required inspection.
Ask the contractor to document the condition and explain the proposed repair, price, and schedule effect before proceeding with added work. Keep the written change with the original scope so responsibilities remain clear.
Keep the final opening list, product labels, care instructions, warranty documents, and agreed follow-up items. Ask who receives a service request and which company covers the product versus installation labor.
Technical reference: the U.S. Department of Energy’s Window Replacement checklist at the Building America Solution Center distinguishes existing-frame and full-frame work and emphasizes product instructions, sealing, flashing, and final homeowner guidance. Use it to discuss the project; exact details must fit the window and wall.
In Northern Utah, review Windows Direct Utah’s installation services and ask how the written scope addresses your openings. Elsewhere, bring the same questions to a qualified local installer.
FINAL WALK-THROUGH
FREQUENT QUESTIONS
No. Full-frame work reveals more of the opening and may allow more complete correction, but a properly chosen insert can be appropriate when the existing frame and surrounding transitions are sound. The condition and goal should determine the method.
Either direction may be used depending on the window system, wall, exterior cladding, interior trim, access, and removal plan. What matters is whether the method provides the access needed to complete the required transitions.
Often, with planning. Product limitations, sealant temperature ranges, weather exposure, interior protection, opening time, and worker safety all matter. The crew should explain how conditions affect materials and sequencing.
There is no honest universal number. Window count, size, access, removal method, cladding, finish work, weather, damage, and crew approach change the schedule. Ask what is included in the stated time—not only how fast the opening will be filled.
Move from installation quality to the decisions that organize the project and protect each opening.
See what should happen from final measure and ordering through preparation, installation and walkthrough.
Understand rough openings, final verification, hazardous glazing locations and emergency-escape questions.
Field experience behind this guide
Windows Direct University is created by Windows Direct Utah and built on window and door industry experience dating to 2001. This guide explains homeowner questions; the applicable manufacturer instructions and local requirements determine the project details.
Source guidance checked September 6, 2026
Read our Editorial StandardsA useful proposal should describe the installation method, important transitions, finish work, responsibility for hidden conditions, and how quality will be verified.